|
Honda SOHC Four Charging System Mod
One of the most common problems if not the most common problem with the
early CB series bikes was the charging system. This is because they used one 16 ga. wire to supply all the current to charge the battery and run the bike. There are also 2 connectors in that wire between the charging system and the battery. Over time corrosion builds up in the connectors, causing resistance and heat as a byproduct. Heat is not a friend to wiring!
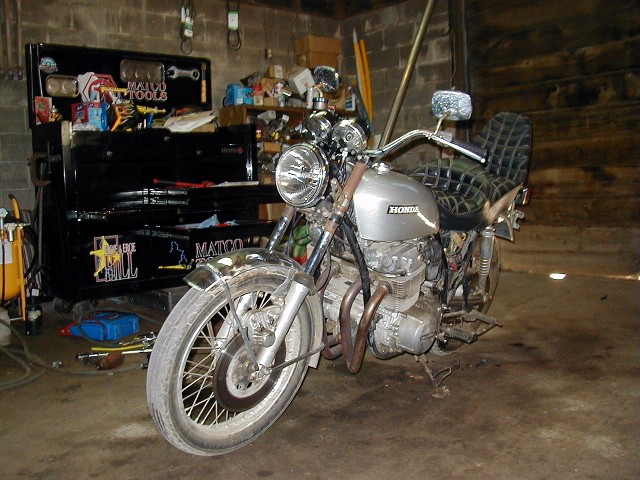
This is a bike i'm putting together and when I tested voltage at the battery the best it would put out was 12.9 volts at 4000 rpm. It should be 14.2 at that rpm, so let's look at our wiring and see what is going on.
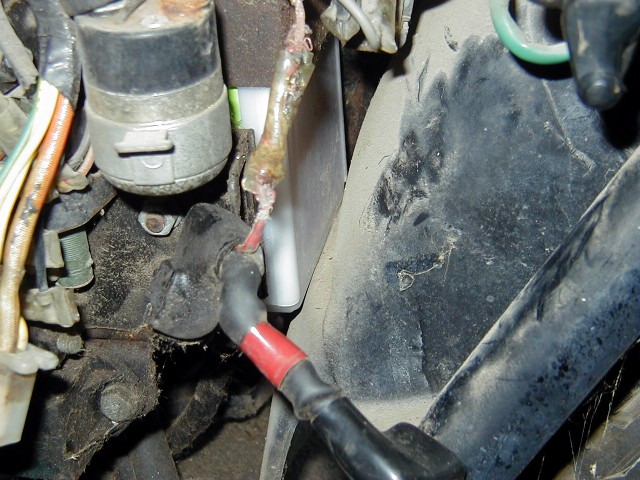
This is the connector between the battery and the rest of the bike, it's toast. Typical result of a poor connection which generated lots of heat over the last 30 years. Following the wire down to the rectifier I found that the wire was burnt at the rectifier connecter and all the way back to the rectifier which is also common.
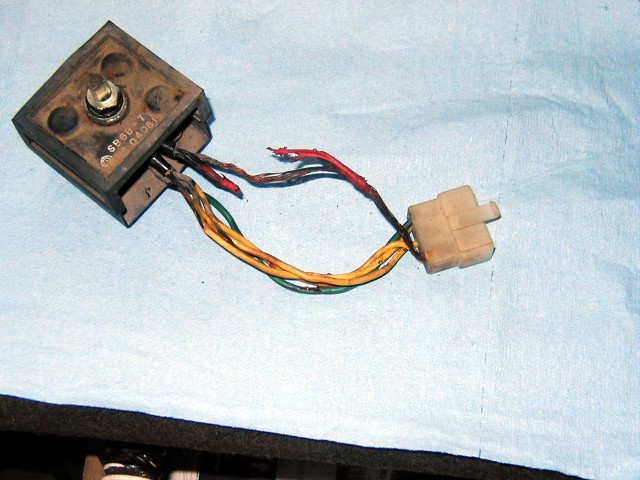
This is what it looked like after removing the plastic covering over the wires. Make sure that the burnt power wire didn't burn holes in any of the other wires. If it did, you may have a burnt stator in the engine and you'll have to check that out as well. Luckily mine didn't burn through any other wires. At this point some would just replace the rectifier and call it a day. That's fine but eventually this will happen again and there is a better way to solve the problem. The rectifier can be disassembled and the wire replaced. 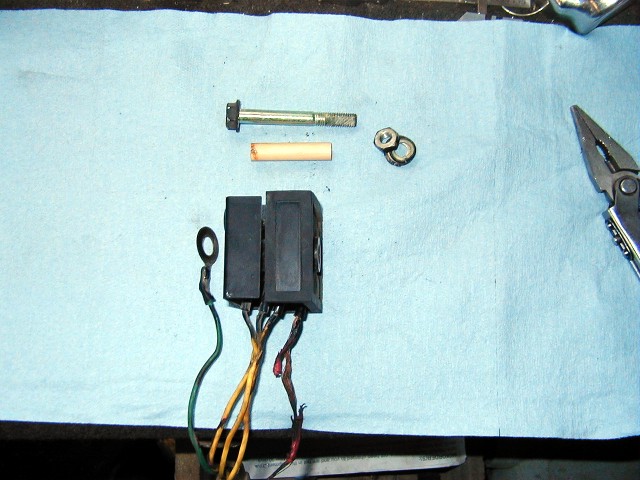
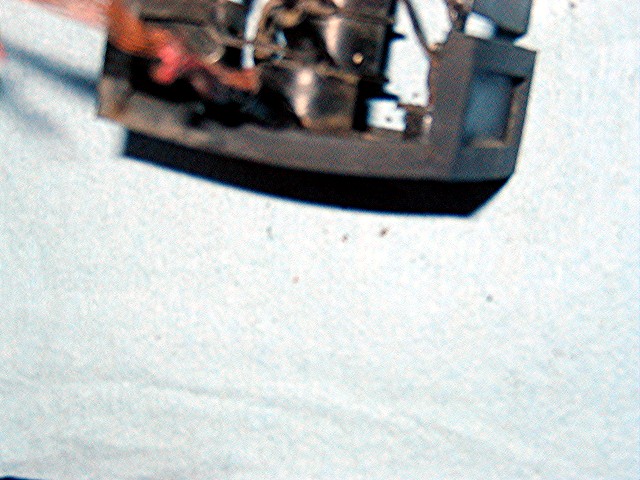
Once you remove the center bolt and the bolt insulator tube you will see that the insides of the rectifier are just ring terminals stacked between fiber spacers and you will be able to slide the red ring terminal and spacer out of the stack.(sorry about the blurry pic)
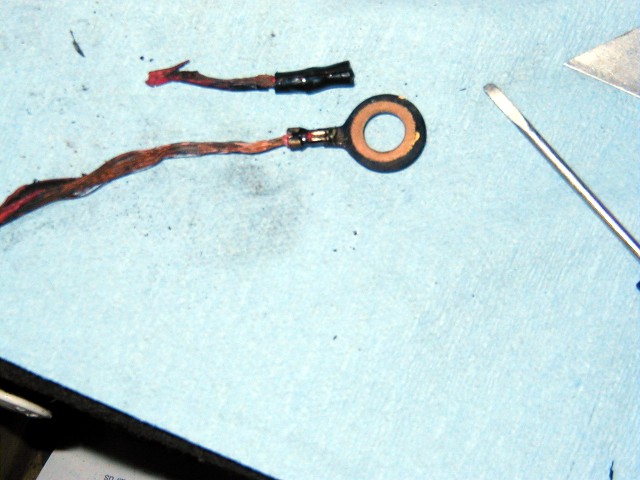
Now you have to get the old wire out of the terminal which can be frustrating but try not to distort the terminal too much in the process. I like to heat the terminal with a blowtorch to melt out any insulation under the terminal crimp and gently pull on the wires. Most likely you will be able to get a small screwdriver between the wire and the crimp and bend the crimp out enough to get your Gerber or Leatherman pliers in to bend the crimp apart fully. You could also use a new ring terminal but they are thicker than the brass factory terminal and you would have to sand down the fiber spacer to get the clearance you need upon re-assembly. I prefer to re-use the stock terminal.
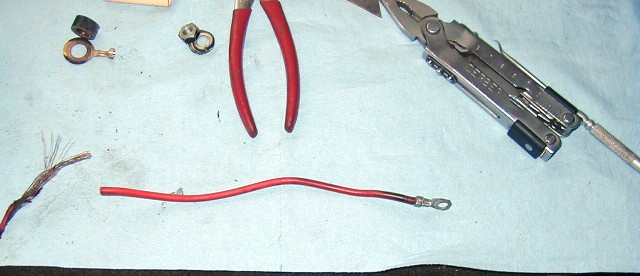
In my spare time I scrap cars and since I am a pack rat who does a lot of electrical work I cut all the connectors and such off of cars before they get scrapped. You never know when you might need a connector on a piece of wire! This is the charging wire off of the alternator of a mid size GM sedan. It is 10 ga. and already has the ring terminal that fits the battery bolt. You will need 9 in. of wire to make it to the battery from the rectifier.
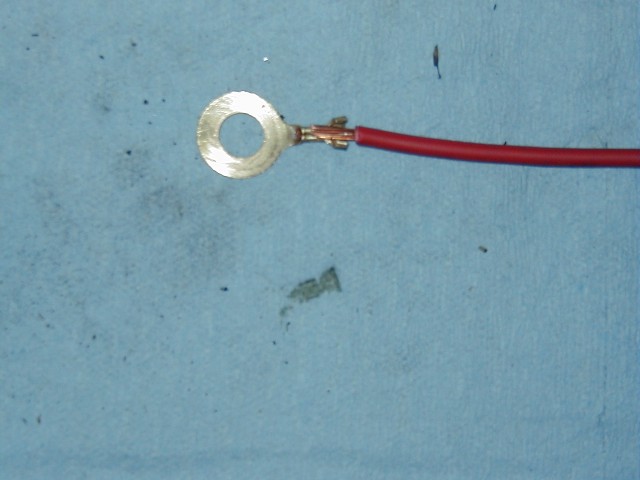
As you can see I was only able to pull apart the back half of the crimp and the original wire is still in there but that is just fine. Re-crimp to the new wire and then solder the joint together. Take your time and make sure you get a good solder flow between the new and old wire and ring terminal. This works best if you sand the terminal clean and spray brake cleaner on it to flush away any dirt or grit before crimping and soldering. Finish off with a little heat shrink tubing on both ends of the wire and you are ready for re-assembly. Before putting it together you will want to take sandpaper wrapped around a screwdriver and clean the surface inside the rectifier where your new red wire contacts the rectifier frame and also clean the green wire terminal and it's contact spot on the other side of the rectifier. You could even smear a little dielectric grease around if you want but I don't think it's necessary to go that far.
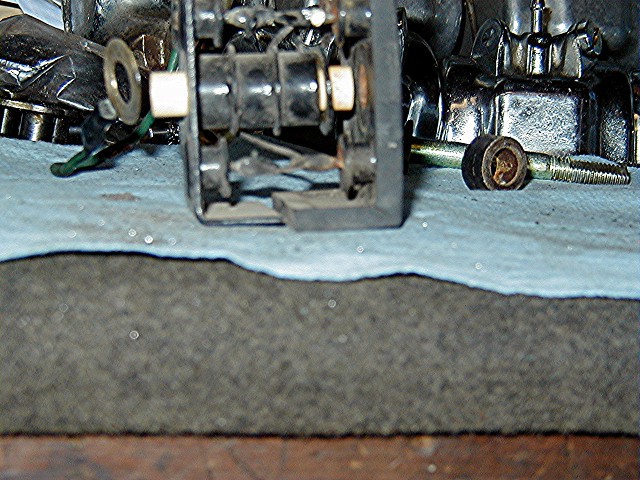
Now you just use the center bolt insulator tube to align the last diode terminal and fiber spacer and hold them in place while you slide your new red wire into the stack. Keep the insulator tube just below the end of the fiber spacer or you won't be able to get the red wire back in. I use a small screwdriver to gently pry between the fiber spacer and the rectifier end to get enough clearance to slide my new terminal in. Don't worry if you bend the end of the rectifier out a little, the center bolt will pull it back together.
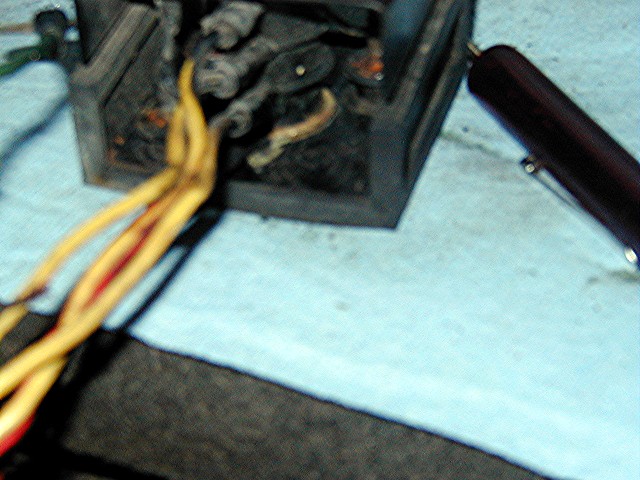
Here it is with everything back in place and the center bolt insulator pushed all the way back into position.
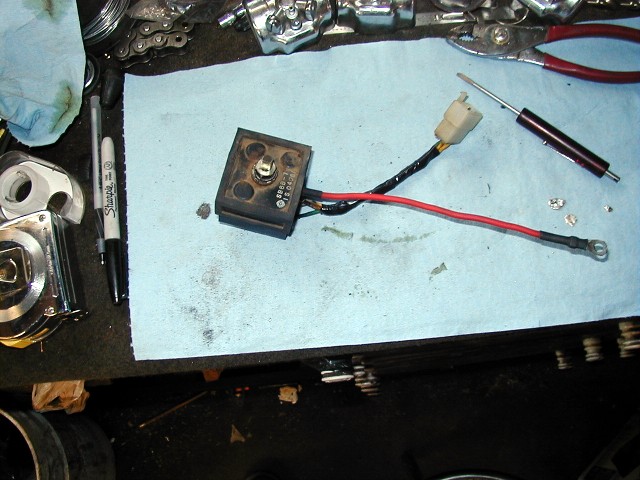
And there's your finished product! Make sure that the fiber washer on the nut end of the center bolt is in place between the rectifier case and the nut and washers before tightening up the bolt. If you don't, the rectifier will be shorted out and may fry your alternator. You may also notice that when I took the center bolt out the flat on the bolt was facing the wires but when I put it back together the flat faced to the left of the wires. That is so that when the rectifier is intalled the wires face to the back of the bike, not towards the side cover. I also didn't tape the power wire up with the rest of the wires to protect them in case the power wire gets hot again in the future. It's not likely, but possible. So now we have a nice thick wire to charge the battery with, but how do we power up the rest of the bike?
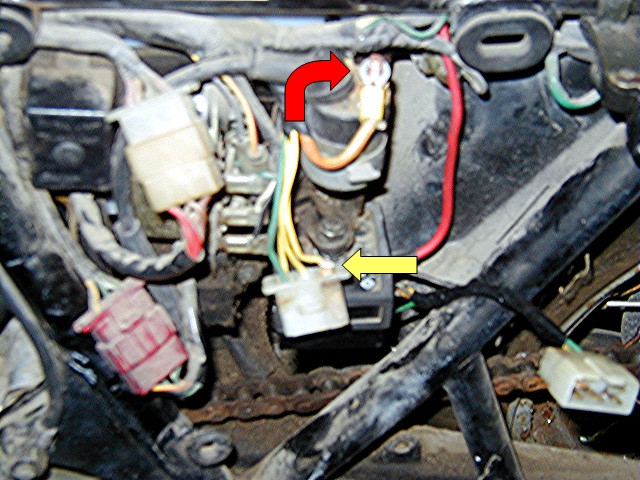
Simple! You just cut the red wire at the harness side of the rectifier connector, crimp a ring terminal onto it and bolt it onto the battery cable side of the starter solenoid. If you don't want to do that you can hook it back up to the battery cable where the burnt wire originally came out of the harness.
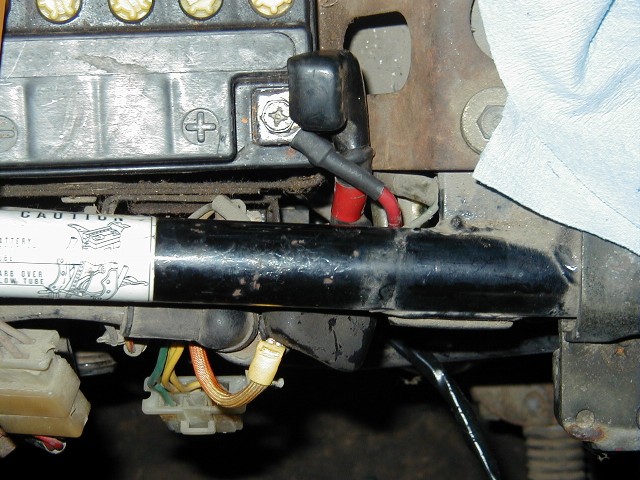
Hook your new charging wire to the positive battery terminal and you are done. You will have to trim the dust boot on the battery cable to clear the new wire. This mod also allows you to use the 14LA2 battery instead of the 12N14-3A which comes stock without the worry of having the more powerful battery overtaxing your charging system. So, after all this fabrication, did it work?
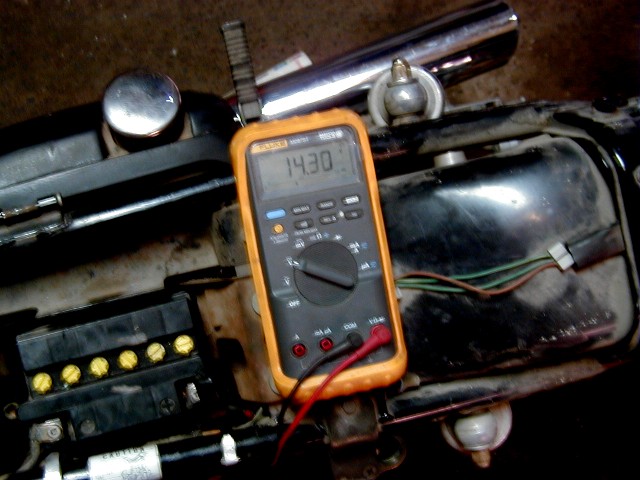
Here's my reading at 3800 rpm, right where it is supposed to be.
|


